|
|

|
    
|
 Operation Precedure Operation Precedure
1) Flexitank loading procedure
 |
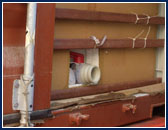 |
| 1. Open the right hand door |
 |
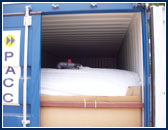
Open the right hand door and check that flexitank position is correct in the container and it has not shifted during empty transit. |
|
 |
 |
| 2. External Hose Connection |
 |
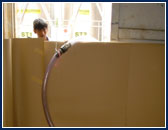
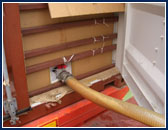
Connect hose with “female” coupling to flexitank valve and making sure valve is in “OPEN” state. |
 |
Hang external hose with rope and ensure valve is kept upright position. |
 |
Ensure left container door is kept close all the time. |
 |
“Turn” on supply and monitor loading operation. |
|
|
 |
Supervise loading from start to finish, making sure the flexitank valve remains in its original position as the flexitank fills, ensuring it does not bend or subject to stresses caused by the connection. Also ensuring the hose is NOT being “caught entangled” inside container corners. |
| 3. Full Payload |
 |
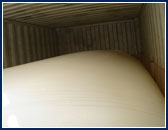
Ensure that minimum 95% or maximum 103% product capacity is loaded. |
|
 |
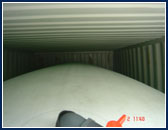 |
| 4. Completion of Loading |
 |
“Shut off” flexitank’s valve. |
 |
Allow residue in hose to be drain-off under controlled condition |
 |
Disconnect hose coupling at flexitank’s valve. |
 |
Remove hose together with the rope and close valve opening with Dust cap. |
 |
Secure Dust cap ring with cable-tie / seal. |
 |
Clean-up any residue left on the flexitank |
|
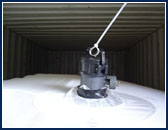 |
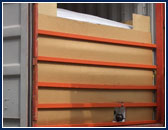 |
|
TOP VALVE FLEXITANK |
BOTTOM VALVE FLEXITANK |
2) Discharging Procedure
| 1. Positioning the container |
 |
Position the container, so that there is a gentle slope from the front to the rear. |
 |
By doing this, at the end of discharge the product will flow to the rear of the flexitank, make draining easier. |
|
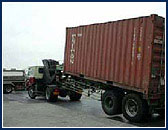 |
| 2. Opening the container door and Hose Connection |
 |
CHECK that the bolts on the left-hand door are still secured in place. |
 |
OPEN RIGHT HAND DOOR ONLY. |
 |
DO NOT OPEN THE LEFT HAND DOOR. This must stay closed until the flexitank is empty. |
 |
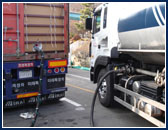
Remove the hose cap and connect to the site suction hose. |
|
 |
| 3. Discharge |
 |
Open the ball or butterfly valve and start to pump. Continue until suction stops, at which point the tank should be empty. |
 |
As a safety precaution the rear bulkhead should not be removed until the tank is empty. |
 |
Replace fill/empty cap and secure tightly. |
|
 |
 |
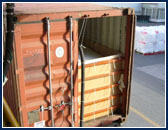
The metal bars forming the Bulkhead and the left-hand door of the container together act as a restraint to hold the loaded flexitank safely in the container. With the container left hand door closed and the top bars can be removed one by one (bottom bar must stay) until the flexitank is completely empty. |
 |
Towards the end of the discharge it may be necessary to slow down the pump speed or partly half close the valve on the flexitank to reduce suction making sure the flexitank does not get drawn into the aperture. |
|
 |
| 4. Pump Information |
 |
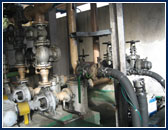
Self-priming and positive displacement pumps are recommended for the fast and efficient discharge of flexitanks. Recommended pumping speed is 400-600 litres per minute and do not go beyond 800 litres per minute. Most gear or diaphragm pumps can be used but avoid centrifugal pumps. |
 |
When handling Food grade products the pump supplier should certify that the pump is fit for purpose. |
|
 |
|
|

